How to Create Mobile Proxy Server (4G LTE)
Step By Step Guide on Making Your Own Mobile Proxy (2024)


Requirement for Setting Up a Mobile Proxy Server
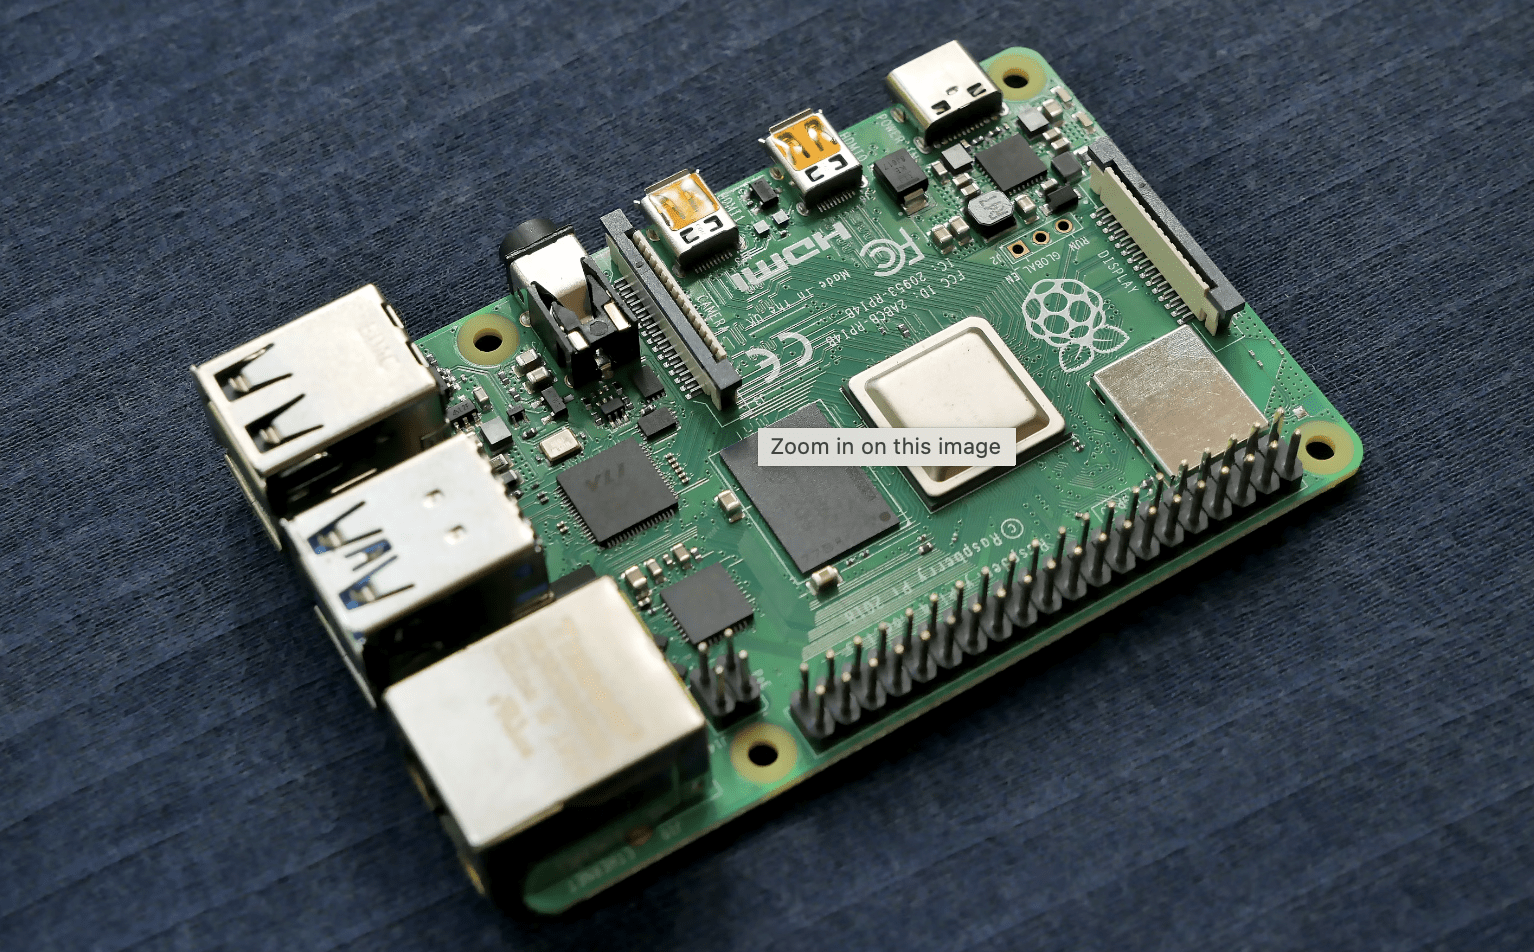
You need both hardware and software to make your own 4G LTE proxy. It is important you know that you will need to spend upfront to be able to get your setup to work. First, you need a micro server which a Raspberry Pi will do. For the display, get a monitor and for entering commands, you need a keyboard. Other things you need are a USB Hub and modems.
The USB hub is required as your micro server will only have one or a few USB ports so you need a hub to extend it so you can have more modems connected. You need a SIM card for each modem and a micro SD card with an OS installed in it. Lastly, you need cables and adapters to connect the hardware together.
Step By Step Guide on Making Your Own Mobile Proxy
Below is the step-by-step guide on how to set up your own mobile proxy using a Raspberry Pi and modems.
Step 1: Install the Raspberry Pi OS on an SD Card

Your SD card is the memory of the Raspberry Pi mini computer. This server needs an Operating System to function and the best one for it is the Raspberry Pi OS. The official download page for this OS is https://www.raspberrypi.org/downloads.

You need to download an Image of the OS — the one specific to your OS. Currently, it supports only Windows, macOS, and Ubuntu Linux.
After downloading, launch it and choose the specific Raspberry Pi OS and then the SD card you want to install it on. Click on the Write button and wait for it to finish installing the OS on the SD card.
Step 2: Connect Necessary Peripherals to Raspberry Pi
With the OS written to the SD card, you can now move to the setup proper. You should insert the SD card into the Raspberry Pi and go ahead to connect the necessary hardware. This includes the monitor and keyboard. Also important is you connect an ethernet cable to it in other to give it Internet connectivity and access. While you could use Wi-Fi, you are better of using Ethernet as it is more reliable, faster, and straightforward.
Step 3: Plug Modems to Raspberry Pi
Usually, there are only a few USB ports on a Pi board — either one or two. You can use a USB Hub to accommodate the number of modems you want. Each modem should have a SIM card in it. It is the SIM card that gives you access to an IP address. It is important you know that the Internet connectivity provided to the Raspberry Pi via an ethernet cable is different from the one here. The proxy server wouldn’t use that of the Pi but that of the modems via the SIM cards.
Step 4: Turn On the System
With all of the above done. You can now plug the Raspberry Pi to power and turn it ON. This is the first time setup and you need to follow the prompt to configure the OS correctly. It is only when you have it set up that you can install a suitable proxy software that helps you manage and turn your modems into proxies for use.
Step 5: Install a Proxy Software
There different proxy software you can use to power your setup. Some of them include Proxidize, 3Proxy, and TinyProxy. In this guide, we will be using the 3Proxy software. Below is the command for downloading it.
wget https://github.com/3proxy/3proxy/releases/download/0.9.4/3proxy-0.9.4.arm.deb
Once downloaded, you can then install it using the command below.
sudo dpkg -i 3proxy-0.9.4.arm.deb
Step 6: Setup Proxy Software
The first thing we need to do is create an admin user for the software. You can do that by using the command below, replacing the placeholder with appropriate detail.
sudo echo admin:`mycrypt $RANDOM` | sudo tee --append /usr/local/3proxy/conf/passwd > /dev/null
After this, you can then run the commands below to create files and folders required for the proxy to work.
sudo mkdir -p /usr/local/3proxy/conf

sudo chown 13:13 /usr/local/3proxy/conf

sudo touch /usr/local/3proxy/conf/3proxy.cfg

sudo chmod 660 /usr/local/3proxy/conf/3proxy.cfg

sudo mkdir -p /usr/local/3proxy/logs

sudo chown 13:13 /usr/local/3proxy/logs
With the above done, we can now go ahead and create routes for each modem. This is the file to modify /etc/iproute2/rt_tables. You should add routing for each modem on separate lines. If you have only one modem, the first line should contain: 1 gateway1
Next is for you to get the interface name, IP address, network, and gateway for each modem. You can get all of this info by running this command: ifconfig.
For each modem, you should run the following commands.
sudo ip route replace  dev  src  table gateway

sudo ip route replace default via  dev  table gateway

sudo ip rule add from /32 table gateway

sudo ip rule add to /32 table gateway
NOTE: All of the are placeholder for the specific detail they enclose.
We can then move on to configuring the 3Proxy. We have already created a configuration file here: /usr/local/3proxy/conf/3proxy.cfg but it is empty. Copy and paste the below code into the file.
#! /usr/local/bin/3proxy

daemon

config /usr/local/3proxy/conf/3proxy.cfg

# logging

log /usr/local/3proxy/logs/3proxy-%y%m%d.log D

rotate 60

# users passwd file

users $/usr/local/3proxy/conf/passwd

# proxy user and group ids

setgid 13

setuid 13

auth iponly strong

# allow proxy access for local network

allow * 192.168.0.0/24

# assign weights (probabilities) to modems by their IP address

parent 500 extip 192.168.8.101 0

parent 500 extip 192.168.9.101 0

# run proxy on port 2000

proxy -a -p2000

flush

# allow admin panel access to the admin user on port 8080

allow admin

admin -p8080
In the code, you will notice some lines like this (parent 500 extip 192.168.8.101 0). There are currently two in the code each of which represents a modem with routing configured. The 500 is the weight given to each modem. In the above, each modem has 500, making them equally weighted. The weighting when summed shoulder equals 1000.
With the above, you have been able to set up a mobile proxy.
Step 7: Test Proxy
Now that you are done with the configuration, it is time to test it out. Use the command below to start the proxy server.
sudo 3proxy /usr/local/3proxy/conf/3proxy.cfg
The command will start the server. You can then try the cURL command below to see the IP address being used to route your request.
curl --proxy 192.168.0.10:2000 https://eth0.me
The IP address you will see will be one of the IPs of the modems. The IP changes and rotates among the modems based on the weight you applied. If you give each of them the same weight, then there is equal probability for each to be used.
You can stop the proxy by running the command below.
sudo kill -9 `pidof 3proxy`
An Easier Way to Setup Mobile Proxy Server
The above is just like an MVP of a mobile proxy setup. If you need custom rules, more modems, and some other configurations, you will discover you need technical knowledge including networking and Linux. If you don’t want to get your hands dirty, you can get a plug-and-plug proxy kit and just set up then pay monthly for management without the need to go through all of these numerous steps that you can get lost in the process.
Proxy-seller offers a custom mobile proxy solution where they send you setup kits including modems, micro server, USB hub, and SD card cables and they deliver nationwide. An OS comes installed with the SD card with all the required configuration. All you need is to plug the hardware together and with just one or two commands, connect to the proxy-seller mobile proxy management control panel in other to view your proxies and manage them. You can read more about the Proxy-seller mobile proxy solution here.
Offical URL, mobile.proxy-seller.com/en/