cURL with Proxy - cURL Proxy Setup Tutorial 2024


cURL Proxy Setup

The cURL has been designed in such a way that you send proxy details anytime you send web requests. This can make your command verbose and longer. There is actually another way to set it once and use it when you need it but that is via environmental variable and will be discussed later.
curl — proxy[PROTOCOL]://[HOST/PROXY ADDRESS]:[PORT] [URL]
The names in the [] are placeholders that should be replaced with an actual proxy detail. Let's go through each of them and look at what they mean.
The PROTOCOL is the protocol of the proxy. The popular protocols are HTTP and HTTPS. SOCKS5 is also a popular protocol among proxy users. The HOST/PROXY ADDRESS should be replaced with the proxy host or address. You can get this information from the proxy provider you purchased proxies from. This is either a subdomain or in the form of an IP address. The PORT placeholder contains the port of the IP address. Lastly, the URL is your target URL. Let's see how this works with an example.
curl —proxy “https://154.2.121.205:654" “https://httpbin.org/ip"
The above command when sent with an actual proxy host and address will return the IP of the host. This is because the URL we sent the request to returns the IP of the client that sent it a request in JSON.
Proxy Authentication with cURL
From the above, we didn’t mention authentication. In reality, except if you use a free proxy or IP authentication as your means of authentication, you will need to provide a username and password for authentication. In the syntax above, there is no mention of username and password. Below is how to provide the username and password for authentication while using a proxy with cURL.
curl —proxy “https://154.2.121.205:654" —proxy-user username:password “https://httpbin.org/ip”
As you can see above, the only change is the introduction of the —proxy-user flag. You should replace the username:password with an actual username and password and place them in parenthesis like the rest. The above with an actual username and password would look like the one below.
curl —proxy “https://154.2.121.205:654" —proxy-user “johndoe:5695607095” “https://httpbin.org/ip”
Create Permanent Proxy Configuration Using Environment Variables
When you create an environmental variable with proxy details, what you do is save proxy details so you can refer to them for anything you want to use the details without bundling them in all your commands. With a proxy detail saved as an environmental variable, all you have to do is refer to it. This keeps your cURL commands cleaner and shorter, reducing the chances of you making mistakes. Below is how to create environmental variables with your proxy details and then use them to cURL with the proxy.
-
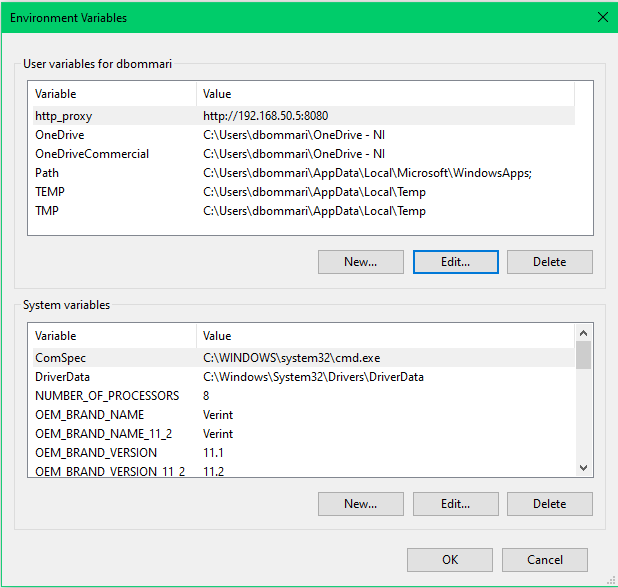
Set environmental variable
set http_proxy=http://[username]:[password]@[proxy_host]:[proxy_port]
If you run the above command in the command prompt, it will create and save a new environmental variable with the name http_proxy which you can use from the command line and by extension, in cURL commands. The command above is for Windows users. Linux and macOS users and use the below.
export http_proxy=http://[username]:[password]@[proxy_host]:[proxy_port]
With the environmental variable setup, usage becomes easier. Below is how to use it in cURL commands without going the verbose way done at the beginning.
curl -x $http_proxy https://httpbin.org/ip
As you can see above, instead of using the proxy address, port, username, and password, I simply just used the environmental variable (http_proxy) and it worked just fine.