How to Configure Proxy on iPhone

Methods of Setting Proxies on iPhone
There are 3 ways to configure proxies on iPhone. This includes setting proxies for specific Wi-Fi connections, using a proxy client, and using the app-specific proxy settings for the apps that support it. Unlike in the case of Android where you can set up proxies for mobile data (SIM), there is no default of doing that without using a proxy client.
Setting Proxy for Specific Wi-Fi
The only method of setting proxies without downloading any app on an iPhone is when you need to set proxies for a specific Wi-Fi connection. When you connect to Wi-Fi, you essentially give up your privacy and censorship rights to the administrator of the Wi-Fi. However, you are still subject to the general censorship and restrictions placed by your government and the ISP of the Wi-Fi. The best way to free yourself up from this is to set up proxies. Follow the method highlighted below to get that done.
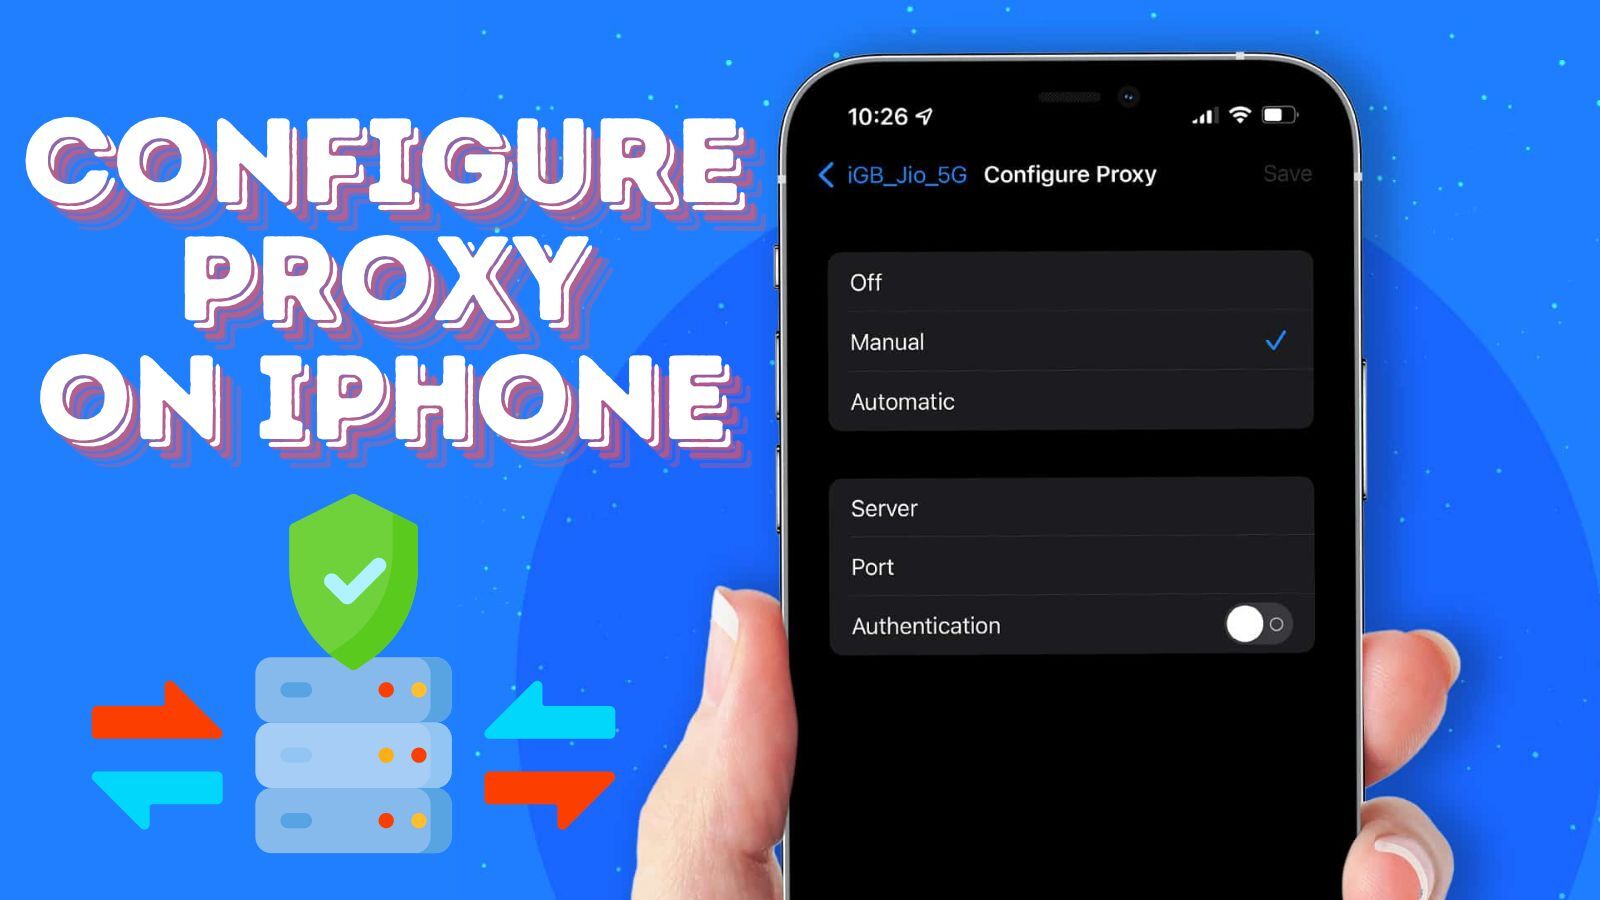
Step 1: Get the proxy details ready. You need the proxy address/host, port, username, and password.
Step 2: Go to the settings app on your phone and head to the Wi-Fi section. You will see a list of the active networks.
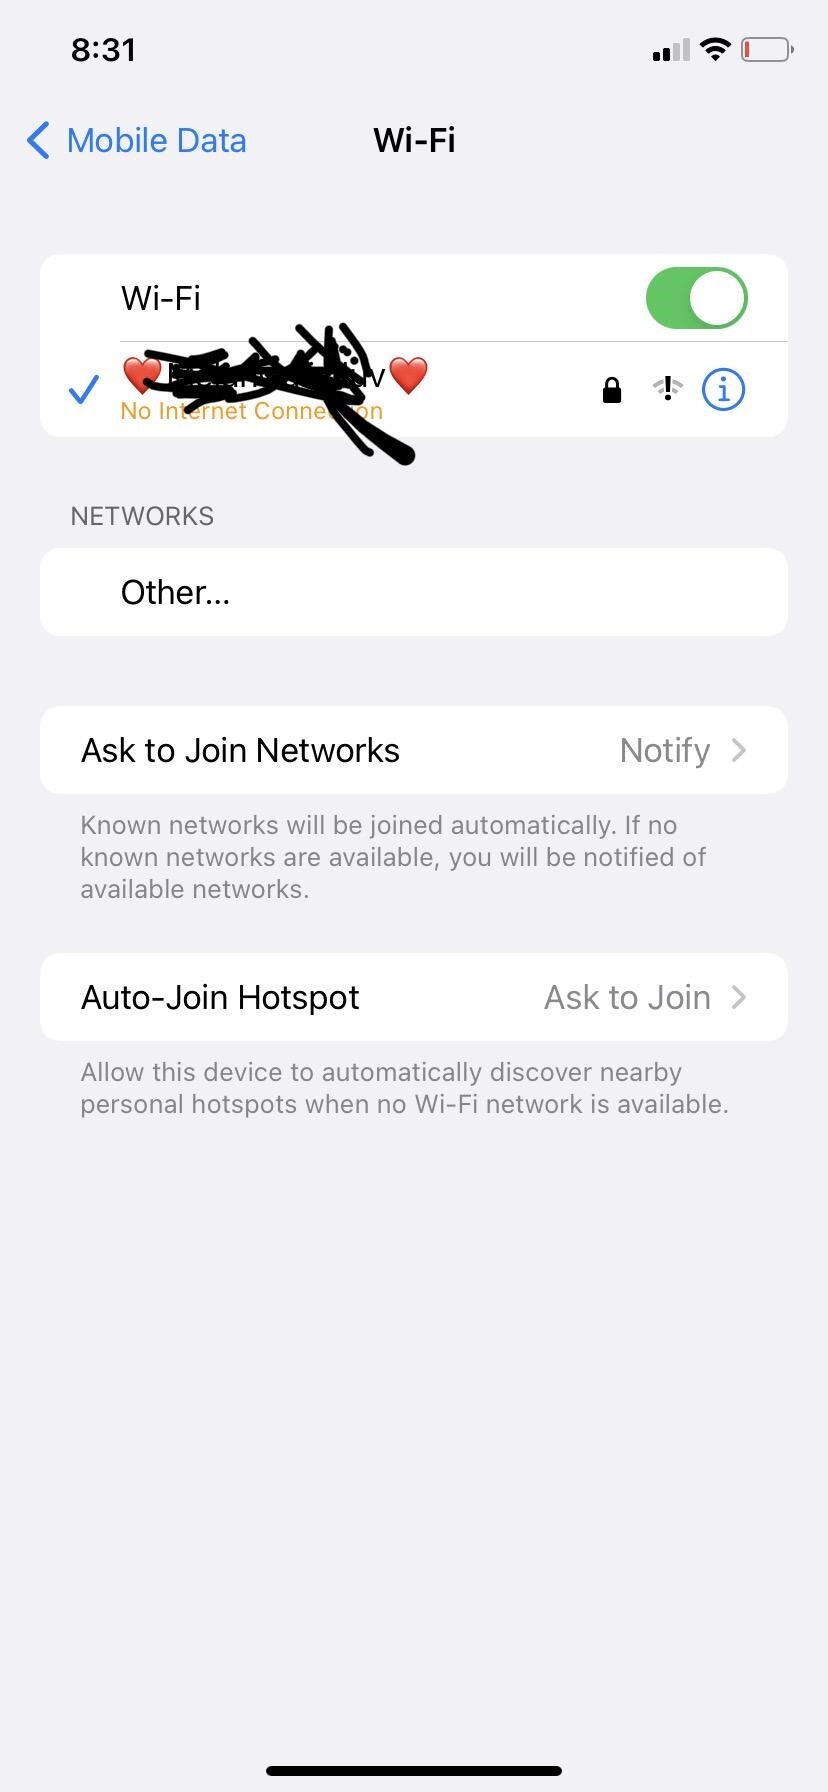
Step 3: Click on the one you are connected to at the time. This will open a new interface with some configuration options.
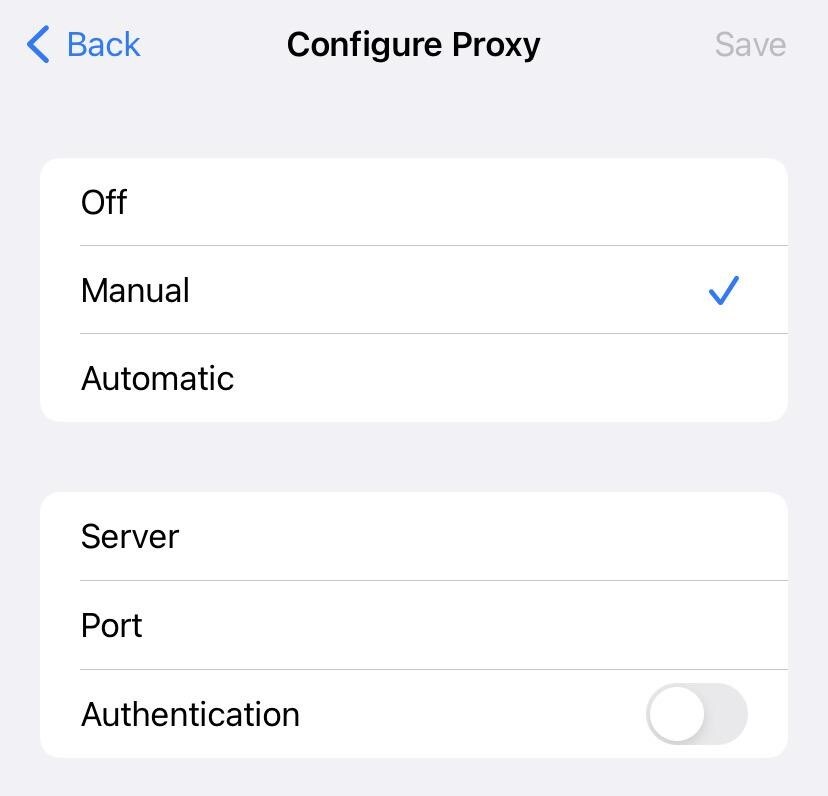
Step 4: Scroll down to HTTP proxy and choose the configure proxy option.
Step 5: From the options provided, choose Manual Configuration.

Step 6: Provide the proxy address and port for the proxy and save the connection.
Step 7: To test the proxies, head over to the www.ipinfo.io and look up your IP address, location, and other details.
Setting Proxies Using a Proxy Client Application
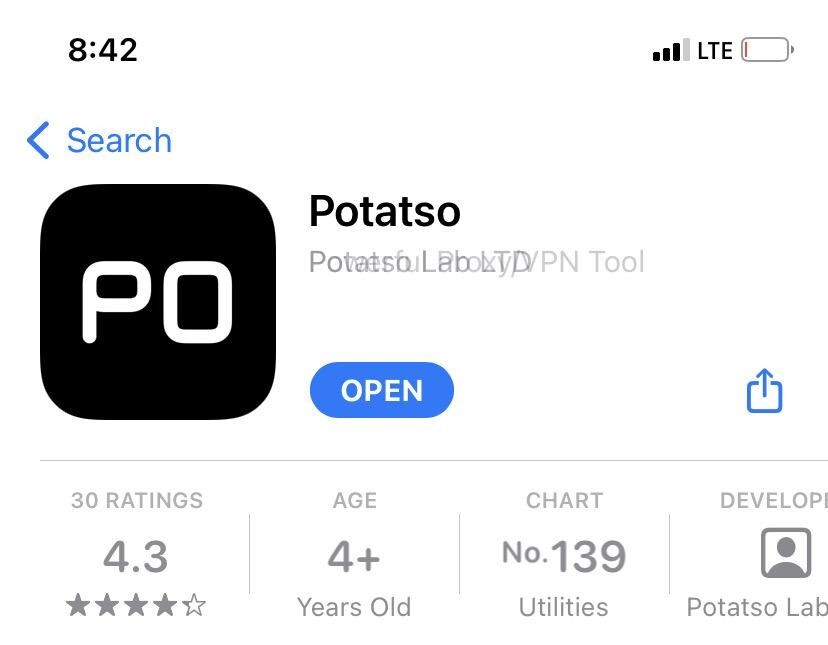
There is an inherent problem with the Wi-Fi method above — it only works with your browser as most applications will bypass it. Not only that, the setting is only applicable to the specific Wi-Fi connection. The better option here is for you to make use of a proxy client. A proxy client is an application that forces all of the web traffic from your device through a proxy. For iPhone users, the option is quite limited as there are only a few good proxy clients. The one I use specifically which works great is the Potatso app. Below is the step-by-step guide on how to make use of it.
Step 1: Go to the App Store and install the Potatso app — it is free to install but just be ready for the in-app ads.
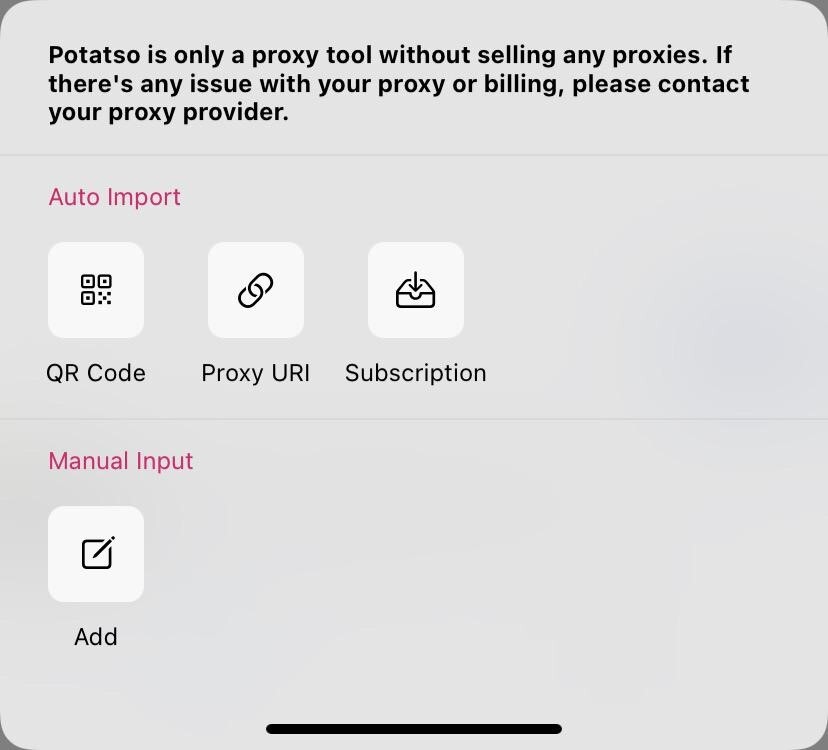
Step 2: Click on the add button and an interface with some options will come up. Choose the “Add” option under the manual input and the interface for the proxy setup will come up.
Step 3: For the Type, select HTTP.
Step 4: Under the Host, enter the proxy address or host, depending on the name your proxy provider calls it.
Step 5: For the proxy port, enter the port. Fill up the necessary details like the username and password for authentication.
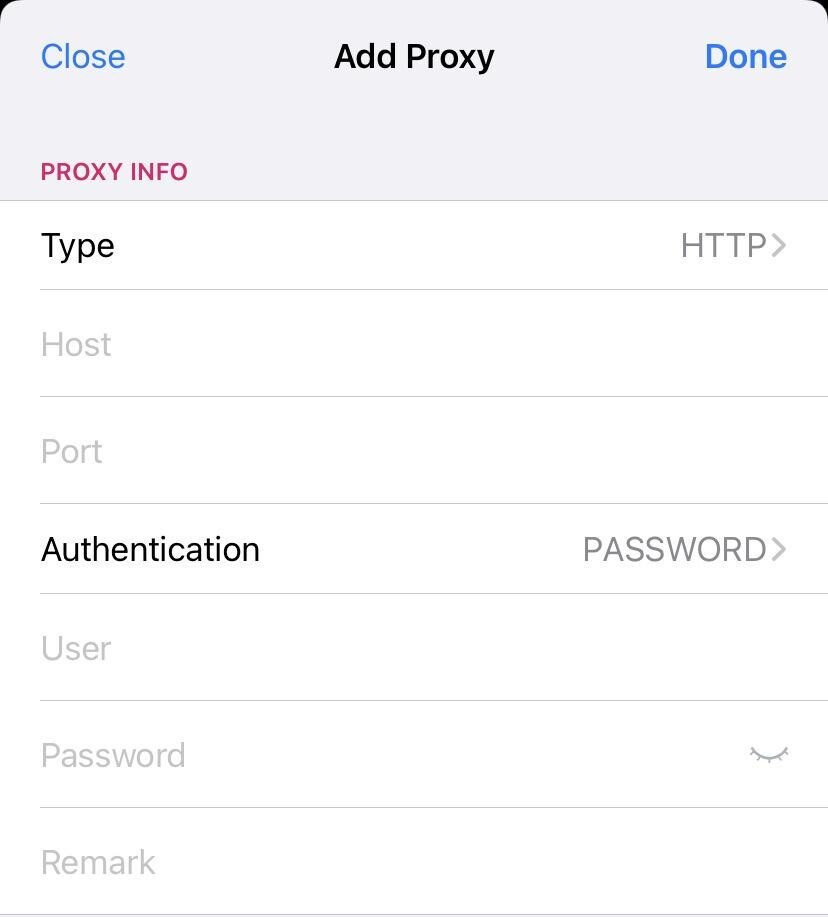
Step 6: Click on the done button to save the configuration.
Step 7: Click on the play button that you see at the bottom right of the page to start the proxy.
Step 8: To test the proxy, visit the www.ipinfo.io website and see the details of the IP address you are using to access the Internet.
App-Specific Proxy Configuration
It might interest you to know that there are some applications that do support the use of proxies, especially if the app is privacy-inclined and does not want users on its platform to take advantage of the IP addresses of other users. Take, the Telegram app is one of the apps that allow you to set up proxies so your requests are routed via a proxy. This setting is not mandatory and most users are not even aware of its existence. Aside from Telegram, other apps support this. However, most apps do not support the use of proxies and as such, the settings do not exist. Your regular social media and e-commerce sites are notorious for this. If you have to deal with this, then the best option for you is to use a proxy client.
Best Proxies for iPhone
I must state here clearly that I do not support the use of free proxies for whatever reason. Free proxies will invade your privacy, pose security risks, and at their best, have performance issues that will frustrate you. Instead, go for paid proxies. For the paid proxies, the one you should use will be determined by what you need proxies for. If what you need is general web surfing without the need to constantly change your IP address, I will recommend ISP proxies — they assign the same type of IP that your ISP assigns and the IPs are static. They are also fast. Some of the best providers of these proxies include Smartproxy and Proxy-Seller.
These providers support multiple locations for geo-targeting. If what you need proxies for is to play games online, dedicated datacenter proxies are the best options, and MyPrivateProxy and Proxy-cheap are good providers. For tasks that require constant change of IP address, using rotating residential proxies is a good option and I will recommend Smartproxy and Bright Data for that.